This post may contain affiliate links. Please read our disclosure policy.
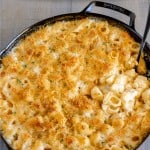

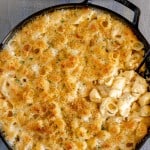
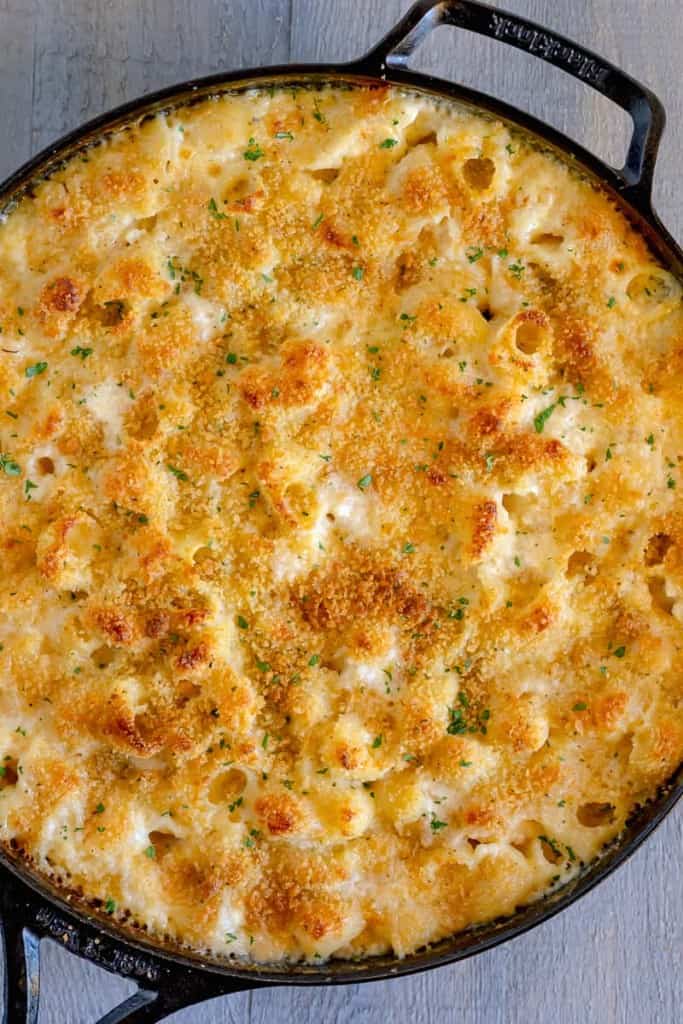
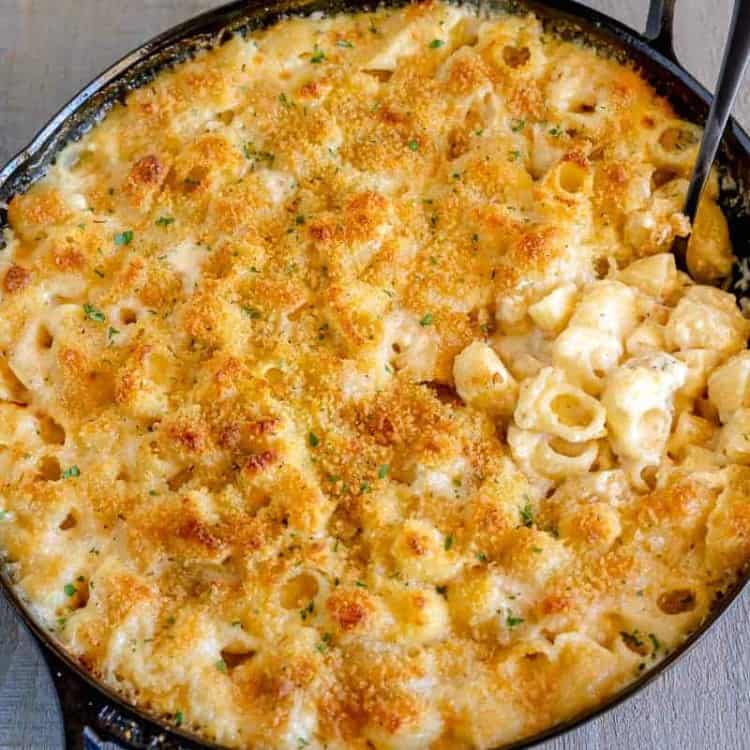
Make the best 3 cheese mac and cheese with this delicious recipe that will have you coming back for seconds! Made with a blend of three cheeses, cooked macaroni pasta, a hint of our secret spice blend, and finished with a generous sprinkling of buttery breadcrumbs, this recipe is a game-changer.
Why this cast iron mac and cheese works
- The mix of sharp cheddar, creamy gruyere, and salty parmesan creates a perfect balance of flavors and creaminess.
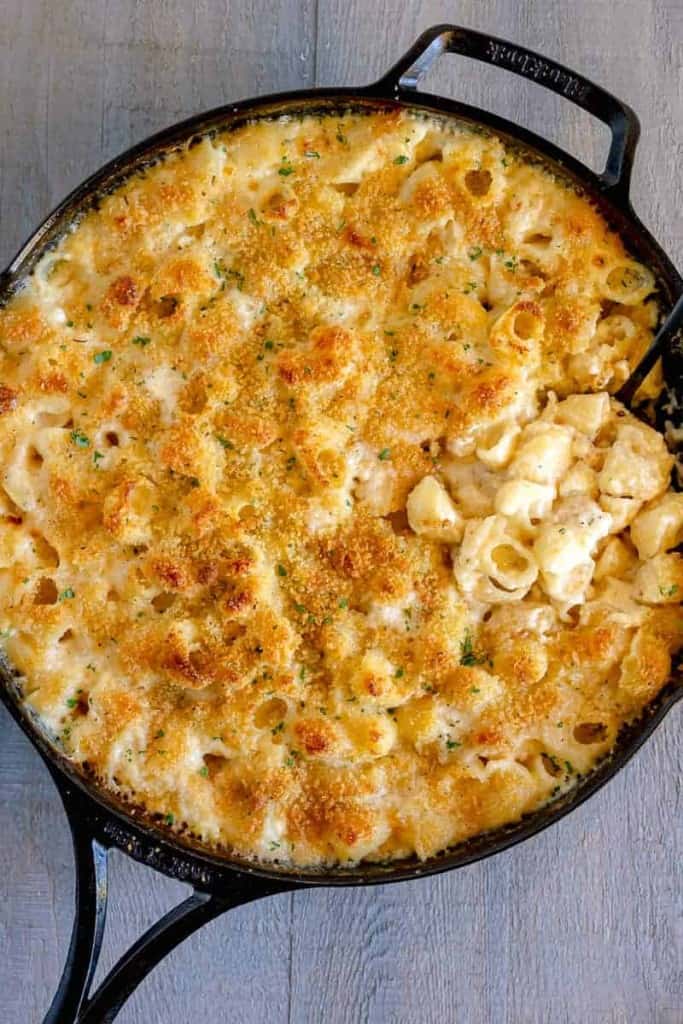
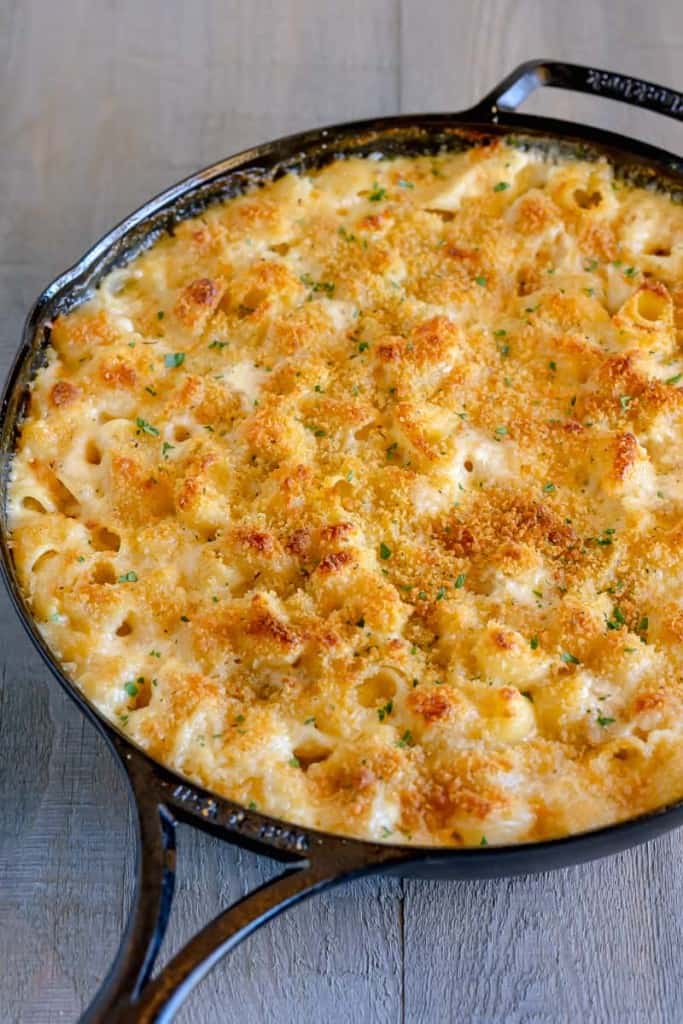
- Baking the mac and cheese in a cast iron skillet gives it a crispy golden crust on top while keeping it moist and gooey in the center.
- My special mac and cheese spice blend adds an extra layer of flavor that will have everyone asking for the recipe.
- Adding a sprinkle of buttery Italian breadcrumbs on top gives the perfect crunch to every bite.
Email this Recipe!
Email this recipe to yourself to save for later.
By submitting this form, you agree to receive emails from Girl with the Iron Cast.
Ingredients needed
Here’s everything you need to make this baked 3 cheese macaroni and cheese…
- Pasta
- Italian panko breadcrumbs
- Butter
- All-purpose flour
- Ground mustard powder
- Ground nutmeg
- Ground black pepper
- Kosher salt
- Whole milk
- Sharp white cheddar
- Gruyere cheese
- Brie cheese
- Italian parsley
Tip:
Feel free to use your favorite type of pasta! I like to use pasta shells because they hold the cheese and sauce well. But elbows, penne, or bowtie pasta work just as well.
What 3 cheeses go well together for mac and cheese?
Not all cheeses are created equal when it comes to making mac and cheese. Some can be too oily, too mild, or not melt properly.
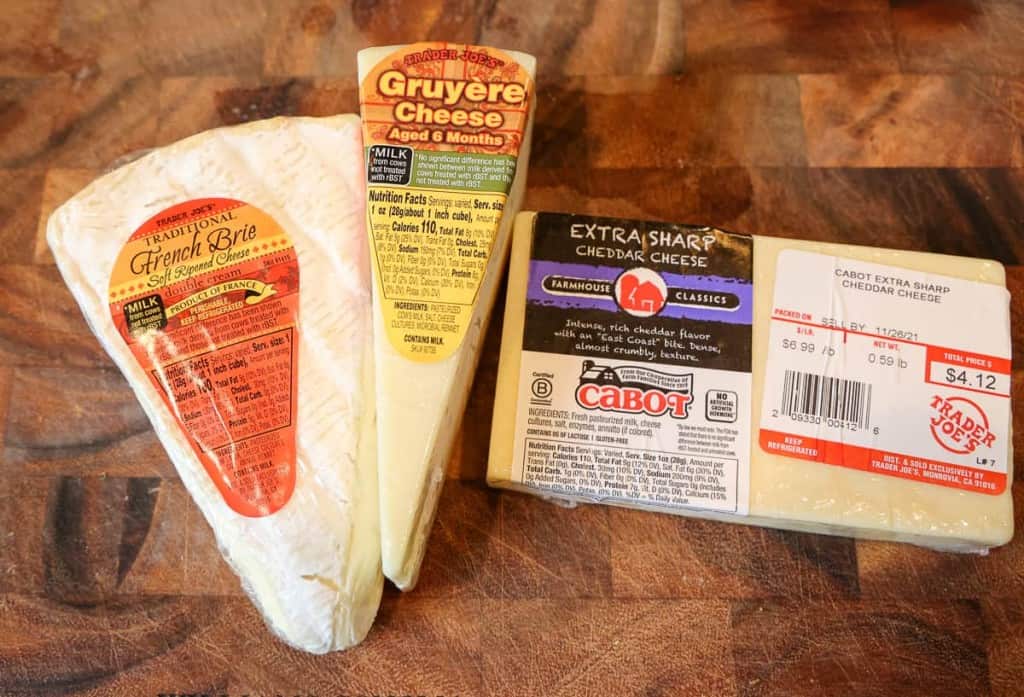
After much experimentation, I have found that a combination of sharp cheddar, gruyere, and parmesan is the perfect blend for a flavorful and creamy mac and cheese.
- Sharp cheddar brings a tangy bite and the classic cheesy flavor we all know and love.
- Gruyere adds a smooth, nutty taste and gives the mac and cheese its creamy texture.
- Brie cheese may seem like an unconventional choice, but its creamy and mild flavor adds a unique twist to the dish. You have to remove the rind prior to using it.
Tip:
Try not to use pre-shredded cheese. Pre-shredded cheese has anti-caking agents added to it, so they are more difficult to melt and will give you a grainy texture. I like getting my fresh cheese from Trader Joe’s because their cheese is more affordable and still great quality.
How to make homemade 3 cheese mac and cheese
This macaroni and cheese recipe is actually pretty simple! Here is a step-by-step tutorial on how to make this delicious dish:
Step 1: Cook the pasta
Before baking your mac and cheese, you’ll need to cook your pasta and preheat the oven to 400°F.
It’s called macaroni and cheese for a reason, macaroni being a short bent hollow tube. Elbows are the most commonly used macaroni, but I used conchiglie. Feel free to use either or even small shells.
- Prepare pasta in salted water boiling water, according to package instructions to al dente.
- Drain the pasta and set it aside.
Tip:
Make sure to not overcook the pasta. You want the pasta al dente since it will continue to cook when you bake it.
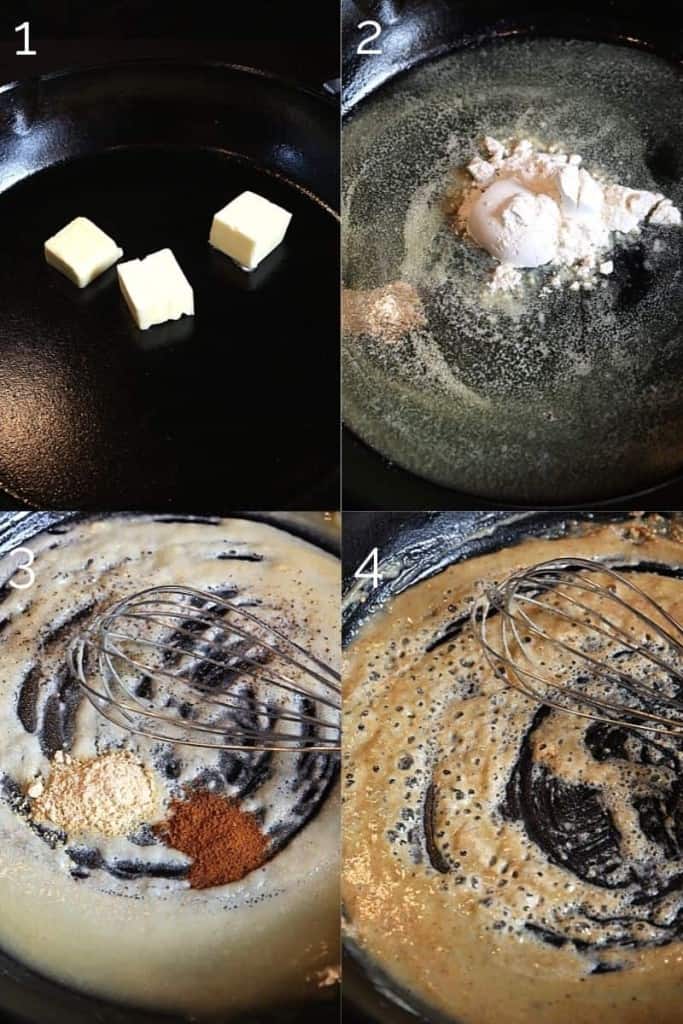
Step 2: Make the roux
While the pasta is cooking, this is the perfect time to start the roux for the base of the cheese sauce.
A roux is a combination of butter and flour that will help thicken the sauce. This keeps your baked mac and cheese from being soupy and loose once it’s baked.
Here’s how to make it:
- In a large cast iron skillet, add unsalted butter.
- Once melted and bubbling, add in flour. Whisk until flour is absorbed into the butter.
- Add in the ground mustard, cayenne, nutmeg, pepper, and salt. Whisk to combine into the roux.
Do I have to make a roux?
No, you don’t have to make a roux. You can mix milk and cornstarch as the thickening agent for your sauce. However, I prefer using a roux because I feel it gives more flavor to the dish.
Can I make the roux gluten-free?
Yes, you can use gluten-free flour instead of all-purpose flour to make the roux.
Step 3: Add milk and cheese
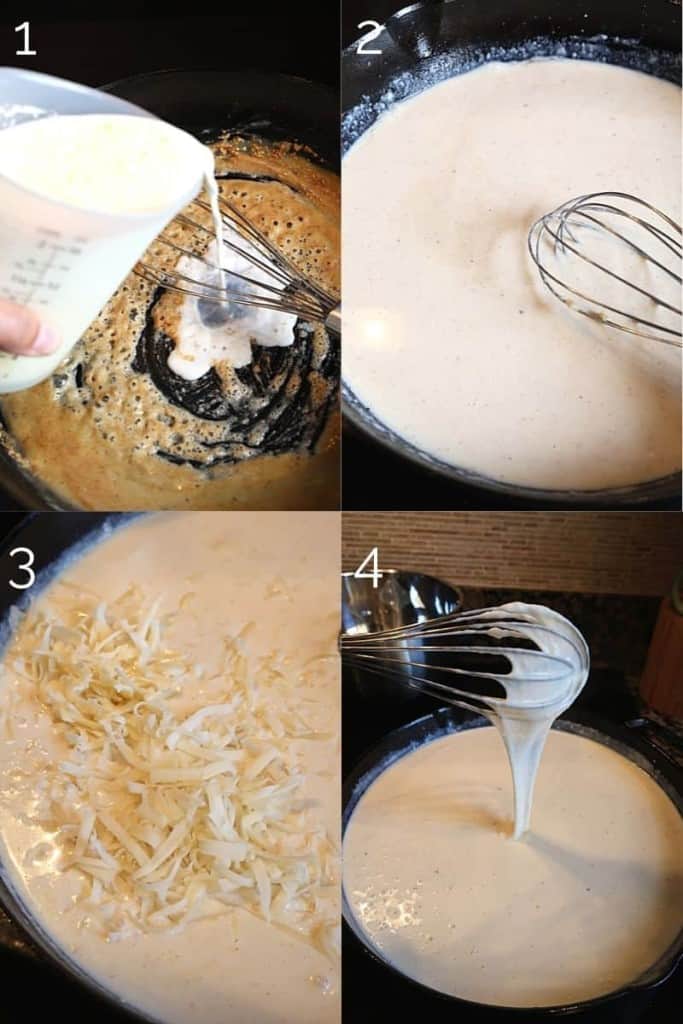
Adding milk to a roux makes it a béchamel sauce. For this recipe, I use whole milk for texture and creaminess.
- Once the roux is formed, slowly begin pouring in whole milk while whisking.
- Continue to whisk until all of the milk is incorporated into the sauce, and there are no lumps.
- Allow it to come to a gentle bubble, then turn the heat off.
- Now, add the cheese. First, add in the brie cheese chunks and whisk until melted.
- Next, a few handfuls at a time, add in the gruyere and cheddar, stirring till melted, then repeat with the remaining cheese.
Tip:
Don’t dump all of the cheese into the skillet at once! This can result in clumpy cheese sauce. Instead, add a handful at a time and let it melt before adding the next handful.
What other types of cheeses can I use?
You can also experiment with other types of cheeses like fontina, Colby jack, or gouda.
What can I use in place of whole milk?
You can use 2% or skim milk, but it will result in a less creamy sauce. Alternatively, you can use half and half for a richer sauce.
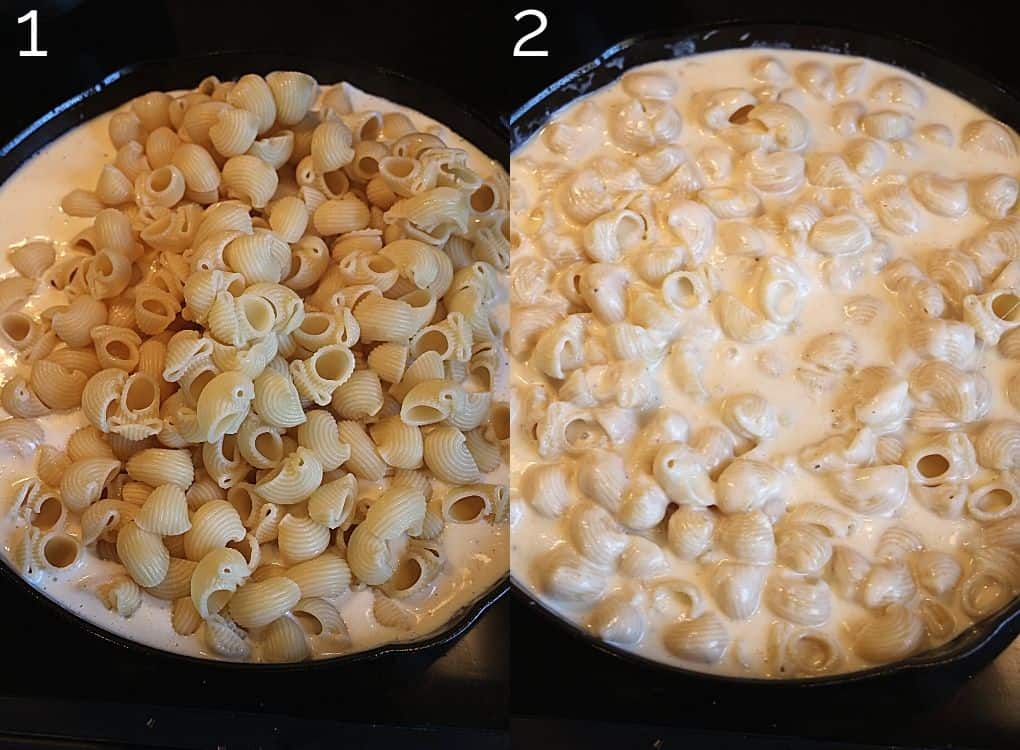
Step 4: Add cooked pasta
Okay – time to put everything together to bake in the oven!
- Add in the al dente macaroni, and stir until fully coated and submerged in the cheese sauce.
- Continue to cook for a minute, stirring the macaroni in the sauce.
Step 5: Add breadcrumb topping
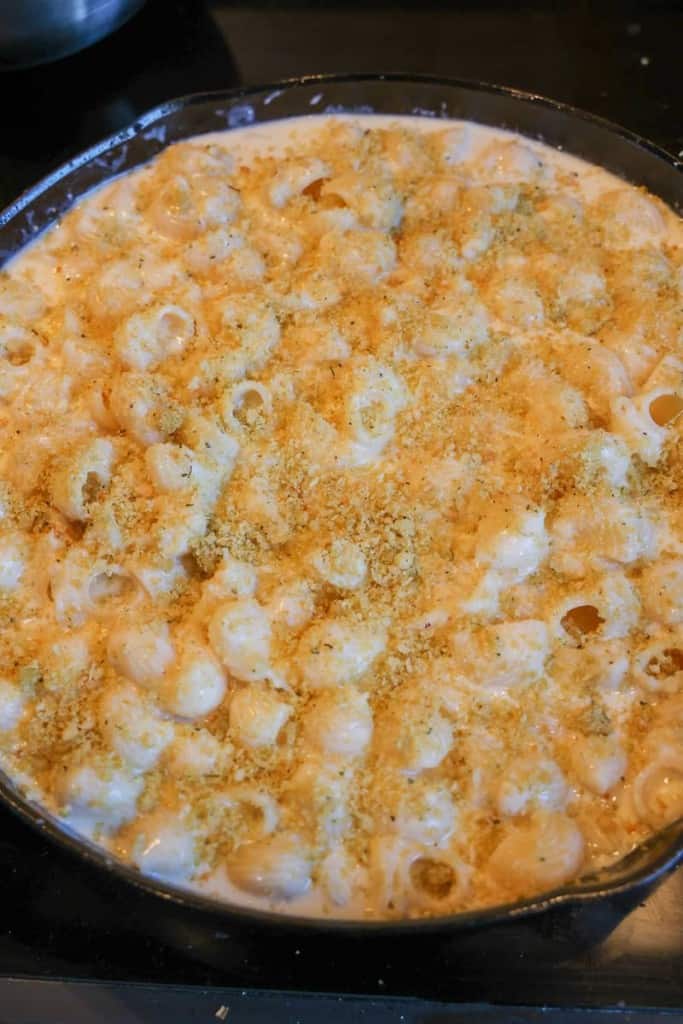
Before baking your mac and cheese, add a sprinkle of buttery Italian breadcrumbs on top for an extra layer of texture and flavor.
- Melt 2 tablespoons of unsalted butter in a small bowl.
- Add Italian breadcrumbs to the melted butter, and mix until combined.
- Spread the breadcrumb mixture evenly over the top of the mac and cheese.
What’s the best kind of breadcrumb to use?
I prefer using Italian panko breadcrumbs because they are more crispy and flavorful than regular breadcrumbs.
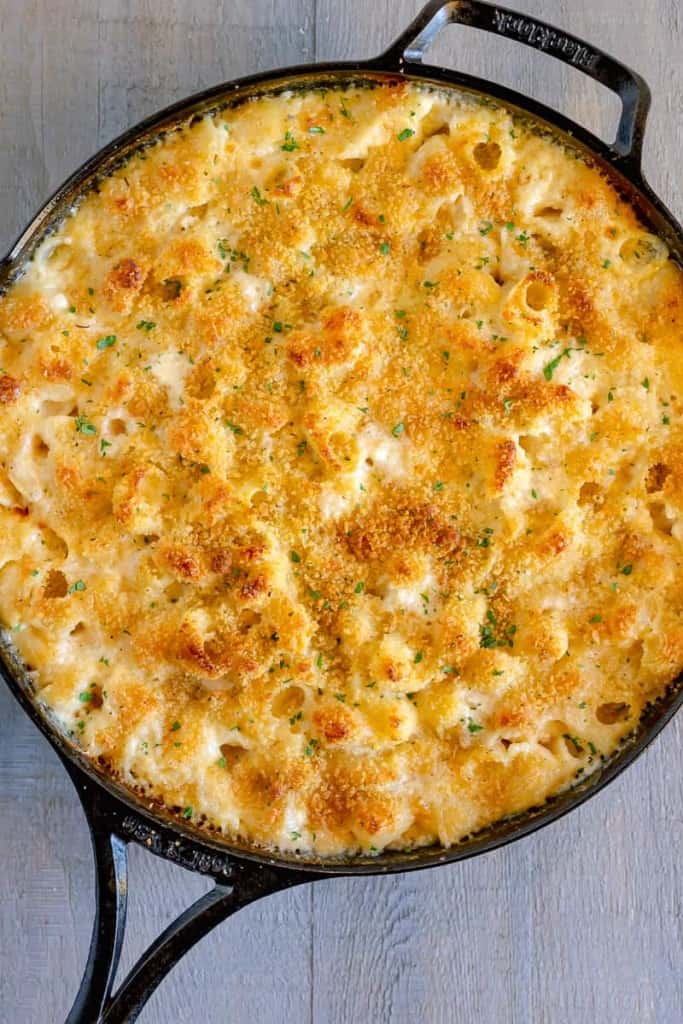
Step 6: Bake in the oven
- Place your cast iron skillet (or baking dish) on a baking sheet to catch any bubbles that might spill over while baking.
- Bake uncovered for about 25-30 minutes at 400°F until the top is golden brown and you see some bubbling around the edges.
- Remove from the oven and let it cool for a few minutes before topping with freshly chopped parsley.
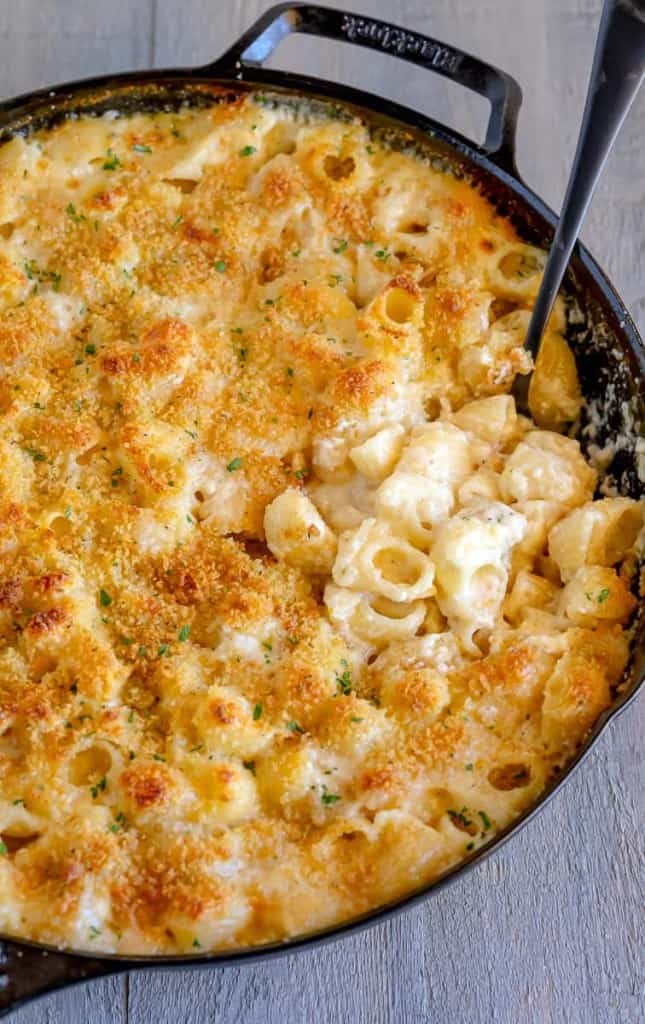
- Allow the macaroni and cheese to rest and set for 5-10 minutes before serving.
Enjoy!
How to serve baked macaroni and cheese
You can serve this 3 cheese mac and cheese recipe as a main dish with some Brussels sprouts Caesar salad, and honey-roasted carrots.
For some added protein, try adding some shredded garlic chicken or pulled pork on top of the mac and cheese before baking it.
How to store and reheat
This baked mac and cheese is best served fresh out of the oven. To reheat leftovers, place in oven-safe container at 350°F and reheat for 20 minutes.
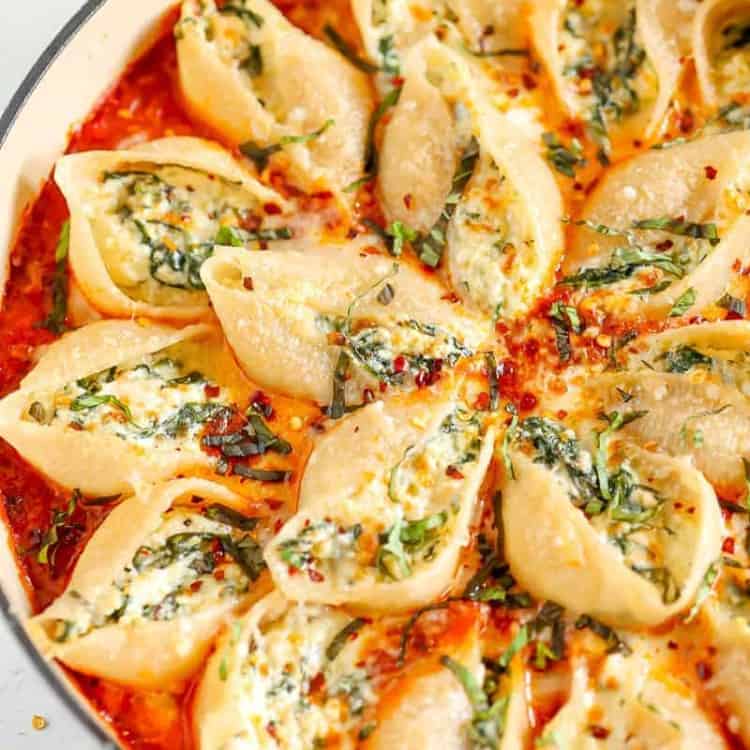
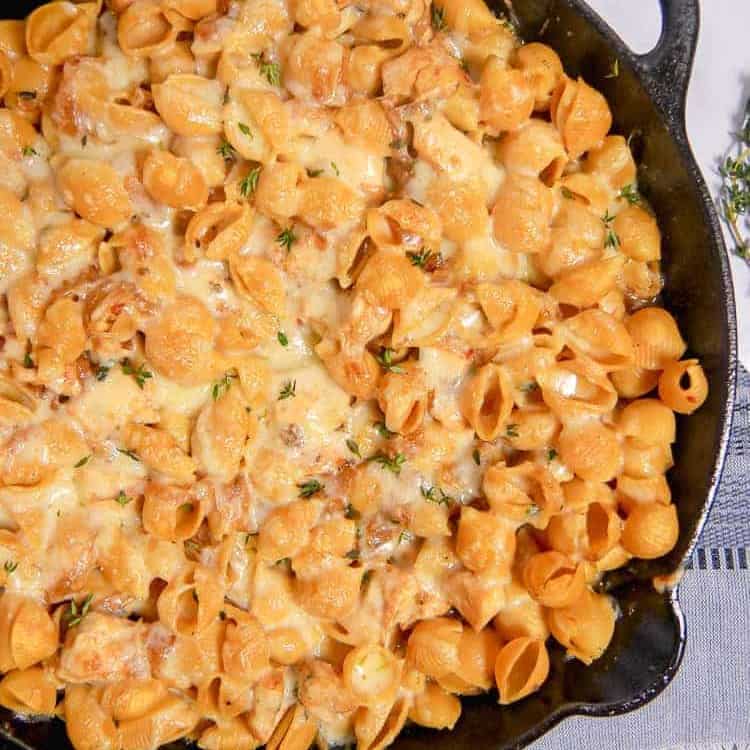
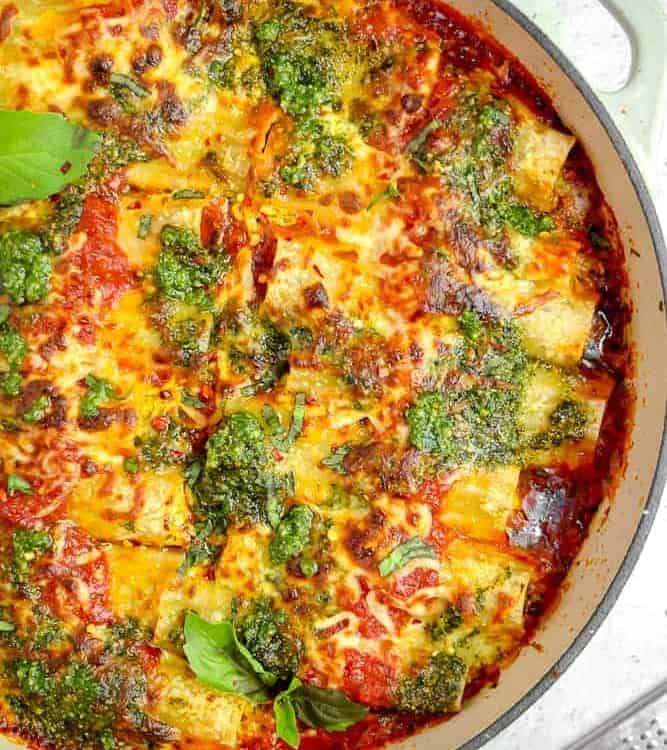
Looking for more pasta recipes?

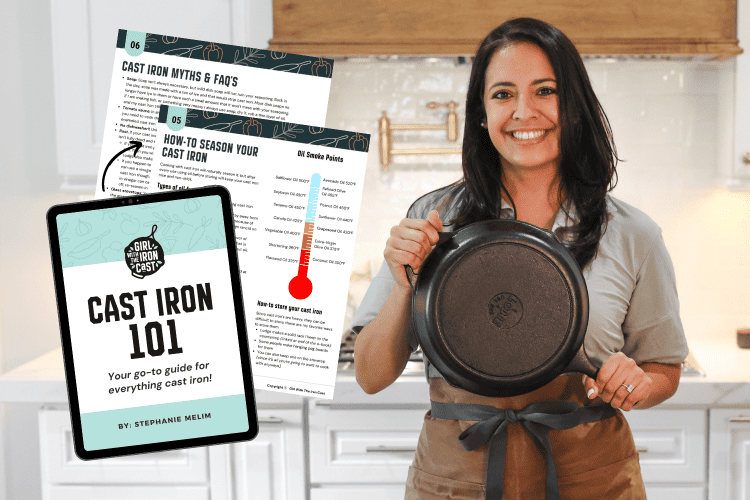
Cast Iron 101 E-Book
In this e-book, I will be talking about everything cast iron! From when you buy your cookware, how to maintain it, to cooking in it, and more!
Did you make this? If you snap a photo, please be sure tag me on Instagram at @girlwiththeironcast or hashtag #girlwiththeironcast so I can see your creations!
3 Cheese Baked Mac and Cheese
Ingredients
- 1 pound macaroni (cooked al dente (see note))
- 1/3 cup Italian panko breadcrumbs
- 2 tablespoons unsalted butter (melted)
- 4 tablespoons unsalted butter
- 3 tablespoons all-purpose flour
- 1 teaspoon ground mustard powder
- 1/4 teaspoon cayenne pepper (see note)
- 1/4 teaspoon ground nutmeg
- 1/2 teaspoon ground black pepper
- 1/4 teaspoon Kosher salt
- 4 cups whole milk (see note)
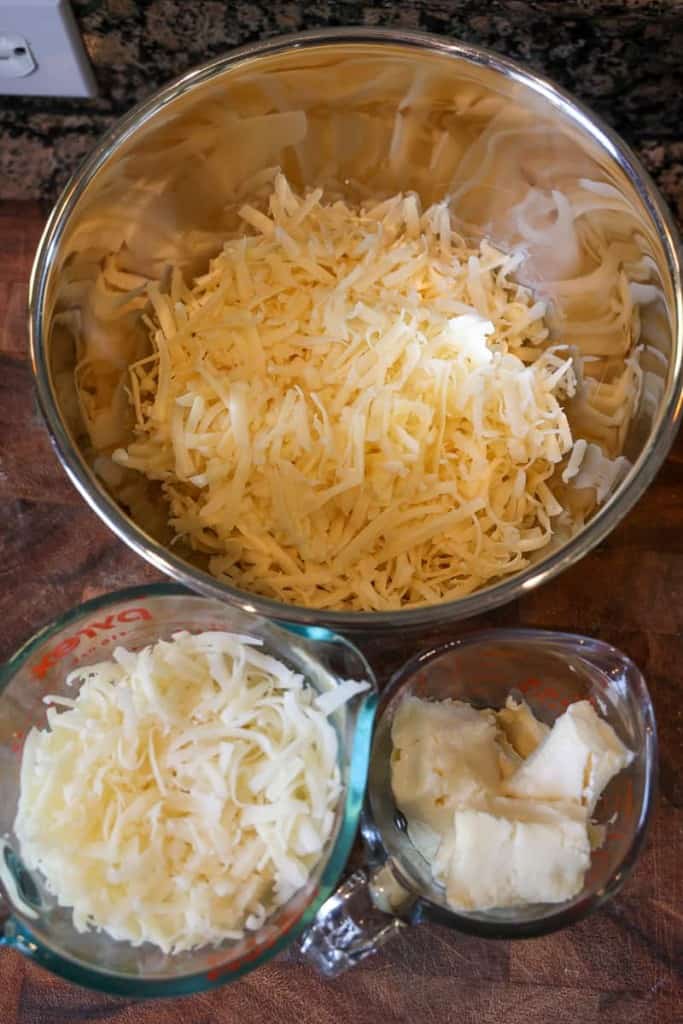
- 4 cups sharp white cheddar (freshly grated (10 oz)(see note))
- 2 cups gruyere cheese (freshly grated (5oz)(see note))
- 1 cup brie cheese (rind removed, cut into chunks (6oz after rind removed)(see note))
- 1 tablespoon freshly chopped Italian parsley to garnish
Email this Recipe!
Email this recipe to yourself to save for later.
By submitting this form, you agree to receive emails from Girl with the Iron Cast.
Before You Begin! If you make this, please leave a review and rating letting us know how you liked this recipe! This helps our business thrive & continue providing free recipes.
Instructions
- Preheat oven to 400 degrees F.
- Prepare pasta in salted water boiling water, according to package instruction to al dente. Do not overcook. Drain and set aside.
- In a small bowl add Italian panko bread crumbs and 2 tbsp melted butter. Stir with a spoon until bread crumbs are coated in butter. Set aside.
- While pasta is cooking, in a large cast iron skillet (12") or high walled skillet over medium heat, add 4 tbsp unsalted butter. Once melted and bubbling, add in 3 tbsp of flour. Whisk until flour is absorbed into the butter. Add in the ground mustard, cayenne, nutmeg, pepper, and salt. Whisk to combine into the roux.
- Slowly begin pouring in whole milk while whisking. Continue whisking till there are no lumps. Allow to come to a gentle bubble, then turn the heat off. First add in the brie cheese chunks and whisk until melted. Next, a few handfuls at a time, add in the gruyere and cheddar, stirring till melted, then repeat with remaining cheese. Sauce should be completely smooth.
- Add in the al dente macaroni, and stir until fully coated and submerged in the cheese sauce. If using a cast iron skillet, sprinkle buttered breadcrumbs over the top then place in oven. If not using an oven safe skillet, transfer to a baking dish, then top with buttered bread crumbs.
- Bake uncovered for 25-30 minutes or until breadcrumbs are golden. Remove from oven and top with freshly chopped parsley. Allow macaroni and cheese to rest and set for 5-10 minutes before serving. Enjoy!
Notes
Macaroni
- When making baked macaroni, always cook the pasta a minute before al dente. Since the pasta will continue to cook in the oven, if you have cooked it too much on the stovetop, it will just become mush after baking.
- Pasta used in photos was conchiglie, feel free to use elbows or small pasta shells.
Cayenne
- If you want less heat, use 1/8 tsp cayenne, or omit entirely. Gives the pasta a nice bite to it though, so I recommend at least a small pinch.
Milk
- For this recipe I use whole milk for texture and creaminess. Using a less fat milk will make the dish more watery.
Cheese
- Do not use pre-shredded cheese. Pre-shredded cheese has anti-caking agents added to them, so they are more difficult to melt and will give you a grainy texture.
- This mac and cheese recipe has only been tested with sharp white cheddar, gruyere, and brie cheese. Other substitutes have not been tested.
Storing
- This baked mac and cheese is best served fresh out of the oven. To reheat leftovers, place in oven safe container at 350F and reheat for 20 minutes.
My daughter taught me a trick. Divide your milk requirements. Do one part milk and 3 parts neuchatel cheese. It’s amazing!