This post may contain affiliate links. Please read our disclosure policy.


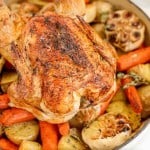
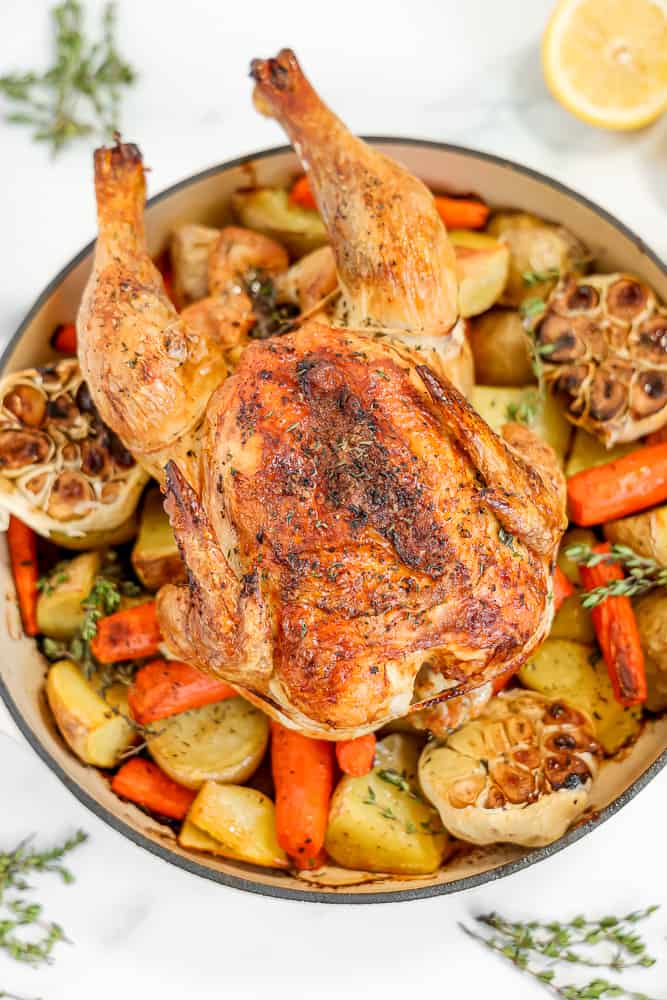
Looking for an easy family dinner that won’t break the bank? Look no further than this delicious savory, roasted whole chicken! Filled with aromatic herbs and cooked to perfection, you’ll be left with tender and juicy meat as well as crisp skin. Plus, there will still be plenty of leftover meat for future meals throughout the week! And if that weren’t enough, all those beautiful juices released from roasting create a flavorful pan sauce and perfectly caramelized vegetables. This is sure to become your favorite new go-to recipe!
What is roasted whole chicken?
Roasted whole chicken is a classic, simple dish that requires minimal effort and produces maximum flavor. Cooked on a bed of fresh vegetables, this is the easiest way to cook an entire chicken.
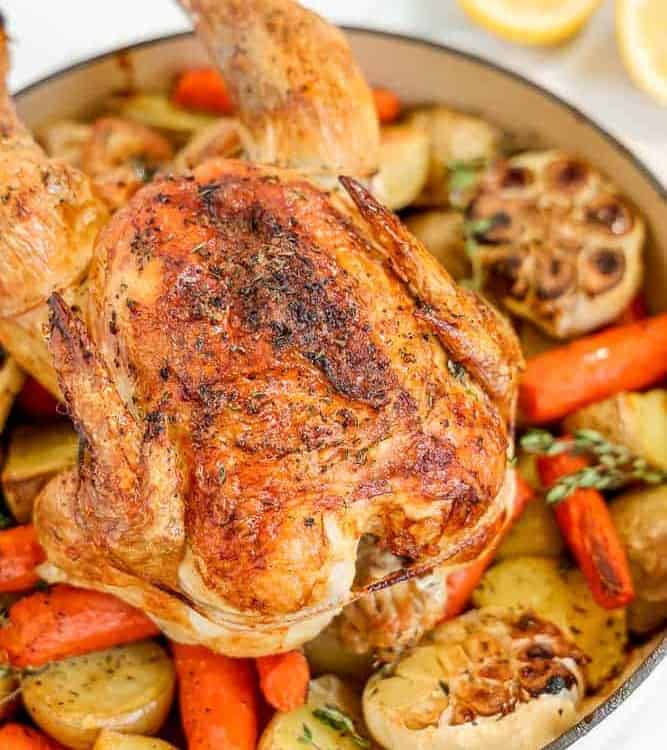
Get ready to bite into a flavor-filled dish! Delicately crisp skin coats juicy, succulent meat in every delightful morsel. Although it might seem like something from a 5-star restaurant, this meal is surprisingly easy and simple to prepare – perfect for feeding the whole family.
Why this roasted chicken recipe works
This roasted whole chicken recipe is the perfect balance of simplicity and flavor. Here’s why this roasted chicken will be in your weekly menu rotation:
- It only takes 90 minutes to make this delicious meal.
- It makes enough food for leftovers.
- The fresh herbs infuse flavor into the chicken and vegetables.
- This recipe makes your entire dinner in one dish!
- It’s a healthy recipe that supports your family’s immune system.
Ingredients needed to make a whole roasted chicken
To make this roasted chicken recipe as convenient and effortless as possible, I’ve used only whole ingredients that are simple to locate. Before you start cooking, here’s what you need from the store:
- Whole chicken
- Yukon gold potatoes
- Carrots
- Garlic
- Lemons
- Fresh thyme (sprigs and leaves)
- Olive oil
- Salt and pepper
Note: Besides all of the ingredients listed above, you’ll also need some cooking twine to truss chicken!
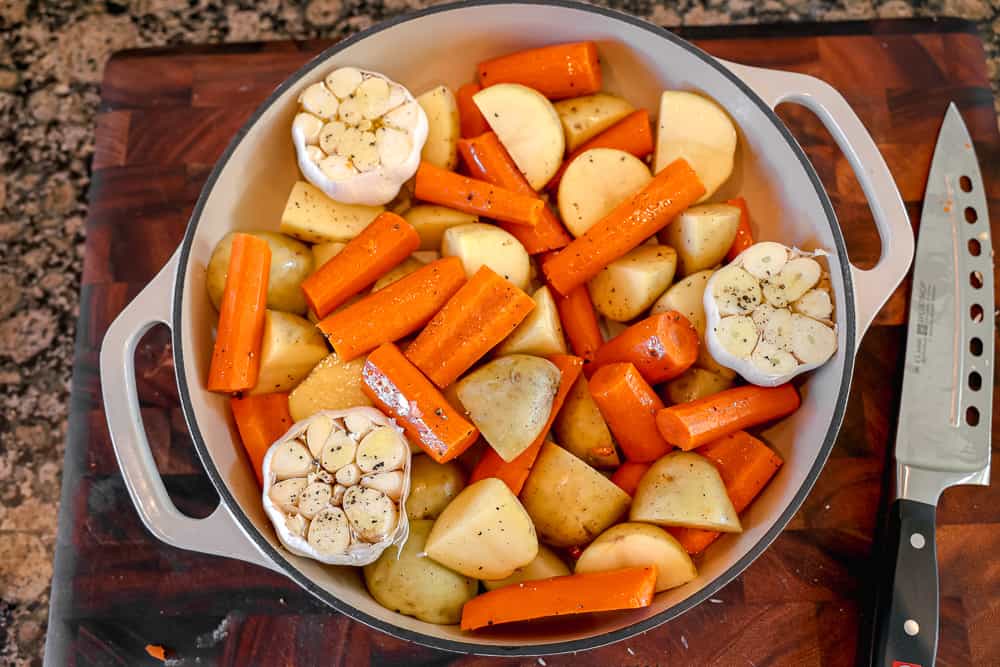
How to prep the vegetables
Email this Recipe!
Email this recipe to yourself to save for later.
By submitting this form, you agree to receive emails from Girl with the Iron Cast.
The first step in this recipe is to prepare the vegetables. To do so, you’ll need to:
- Quarter the gold potatoes
- Peel the carrots
- Cut the top off a whole garlic bulb
Veggie Tip:
When cutting the vegetables, avoid making them too small; otherwise, they will not hold up during roasting. Additionally, if you spot any garlic beginning to char, flip it over so it’s facing downwards for the remainder of the cooking time.
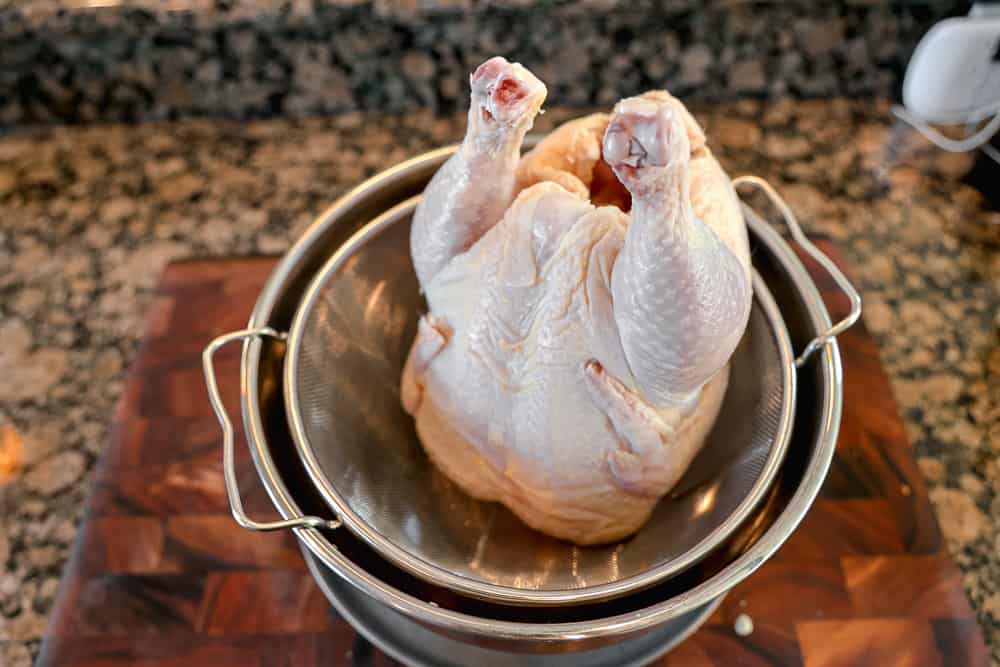
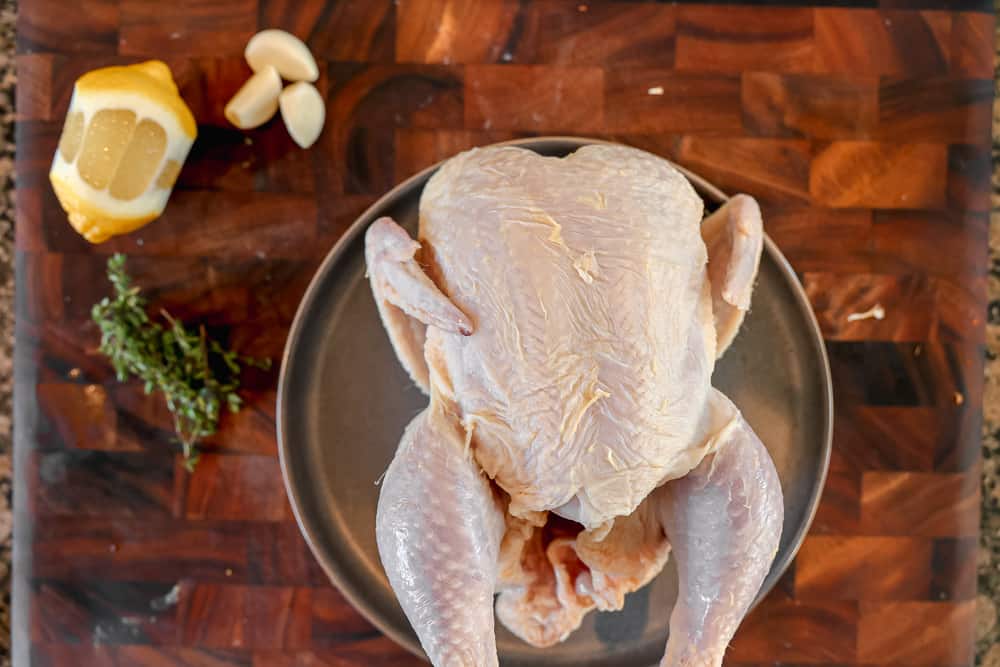
How to prep the chicken
To prep the chicken:
- Remove the bag and pouch from the inside of the cavity on top of the chicken’s neck.
- Next, set up a colander within a bowl to capture all the juices as you dry off your bird using paper towels – don’t forget to also dry out its interior!
Sanitary tip:
When handling chicken, contamination safety is the biggest priority! I recommend prepping the chicken in the sink since it is an easily washable surface and will limit contamination.
Also, when you are done prepping the chicken, make sure you wash your hands thoroughly.
How to stuff the whole chicken
Once your chicken is fully dried:
- Place it on a plate and generously season the inside cavity with kosher salt and freshly ground black pepper.
- Make sure to leave two cloves of garlic in there first, followed by half of the thyme.
- Then, add a mostly peeled lemon for added moisture during roasting before adding the final clove of garlic and remaining thyme for maximum flavor!
How to truss a whole chicken
There’s the traditional way to truss a chicken, and then there’s Grant Crilly’s way to truss a chicken. I agree with Grant that the traditional way of trussing a chicken leaves you with a dry breast, soggy skin, and uneven cooking. I now always use this technique!
Attached is a video to supplement the step-by-step below.

- First, place the twine under the middle of the chicken.
- Next, pull the twine through the armpits of the wings.
- Cross the twine and pull it tight, so the skin of the breast meat will stay down and secured while it roasts.
- Cross over the elbows of the wings to secure them down, then cross under the crown and pull tight.
- Next, go behind and under the legs.
- Bring the twine over the top of the knees and cross the twine under the crown again. When you pull, the legs of the bird should straighten out.
- Carefully flip the bird over and wrap it three times before tying it tight.
- Secure by tying an additional knot so it does not unravel while roasting, and cut off excess string.
How to pre-roast the chicken
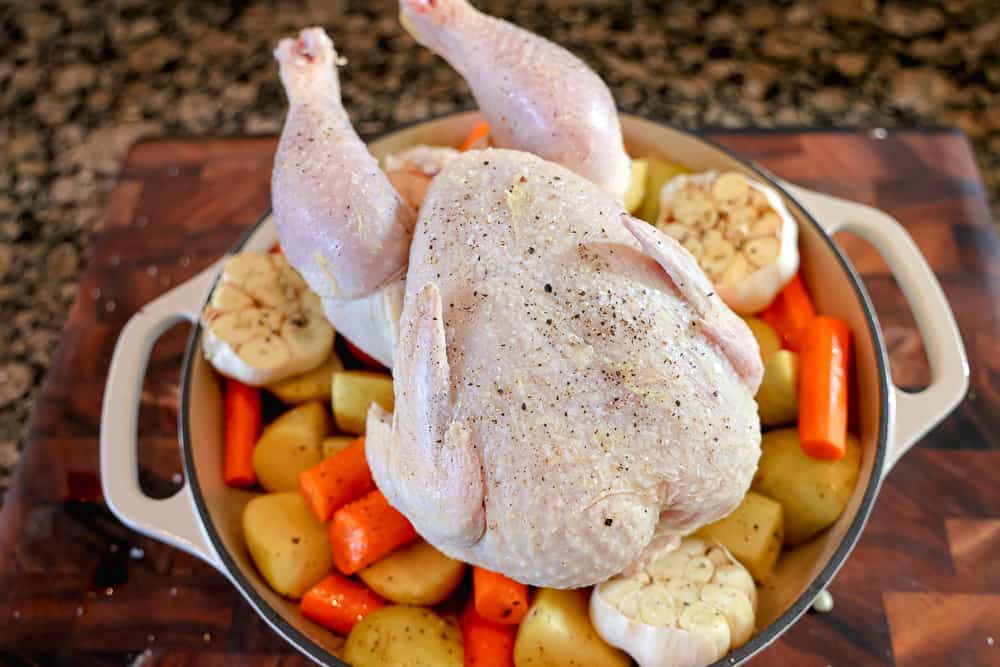
Once the chicken is securely tied and dried:
- Nestle it atop the vegetables. If you need to adjust a few of them in order to level out the bird properly – go ahead!
- Brush lemon juice all over the exterior of the chicken, then sprinkle with Kosher salt and freshly ground black pepper for added flavor.
- Now slide that beauty into your oven and prepare yourself for an exquisite meal!
How to roast the chicken
- To ensure perfectly crisp, juicy chicken, preheat your oven to 450°F and roast for 20 minutes.
- Remove from the oven and coat with olive oil before returning it to the oven at 425°F.
Roasting tip:
Do not baste after this point, as that will cause the skin’s texture to become chewy instead of crispy!
How long to cook chicken in the oven
Cook time will vary according to the weight of your chicken. I always choose between 4-5 pound chicken, with this one above at 5 pounds.
For a 4-pound bird, it should take about an hour. My 5-pound bird took an hour and a half to cook.
After one hour of roasting your chicken, take it out and test the temperature by inserting a thermometer into multiple areas on the breast and thigh. Make sure to avoid hitting any bones while doing this!
You want to make sure that all spots reach at least 165°F, so you know that your chicken is fully cooked before serving.
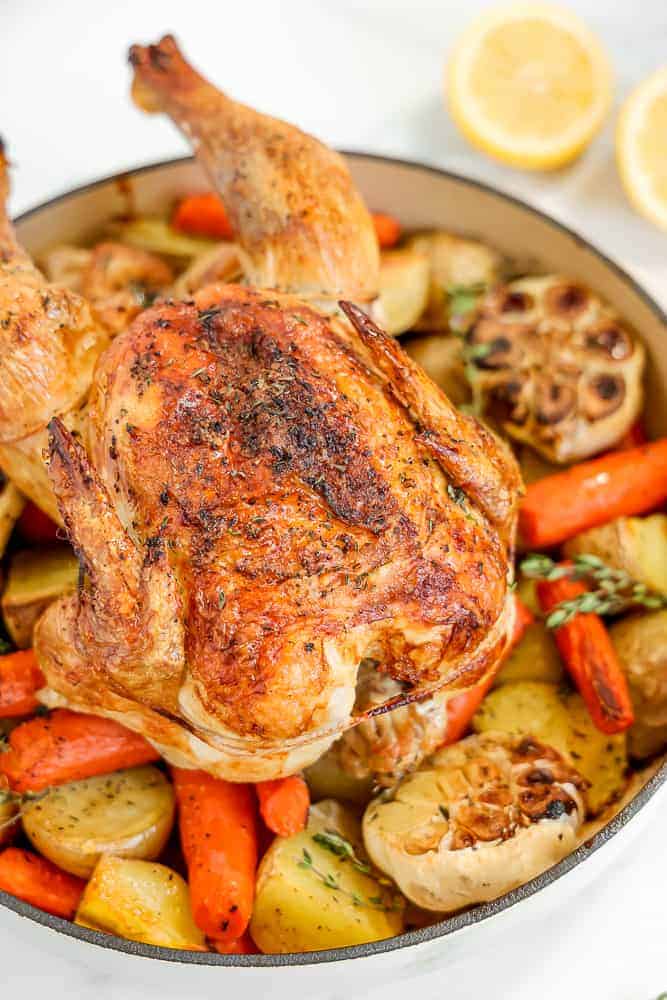
Add finishing touches to roasted chicken
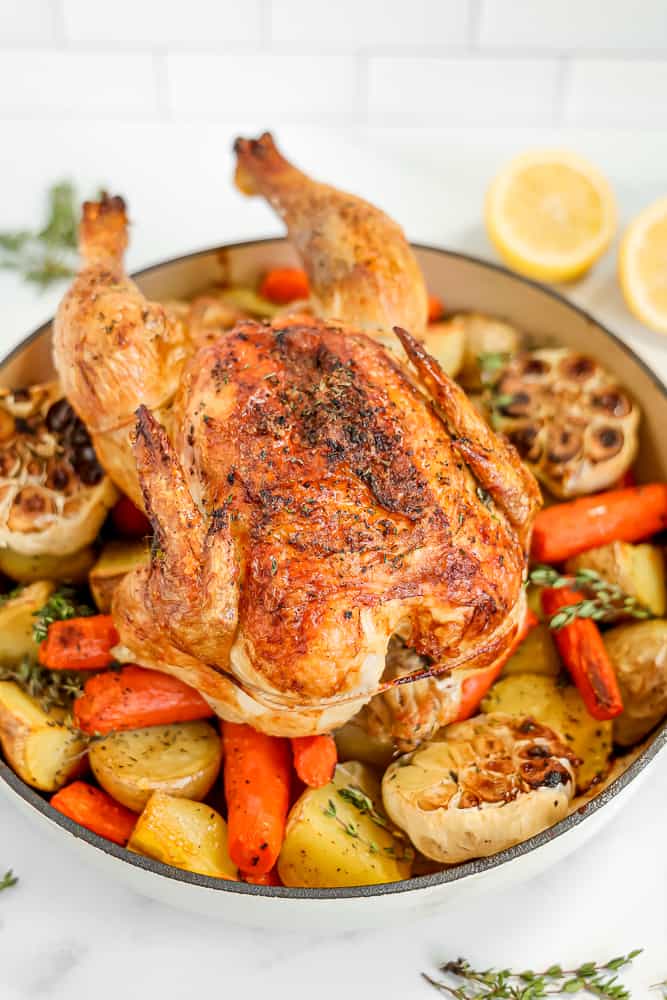
Once the chicken registers at 165°F, remove it from the oven and give it a generous sprinkle of freshly chopped thyme.
Refrain from basting – you’ve worked hard for that crisp skin, don’t ruin it now! Let the bird sit for 10 minutes before slicing into it.
How to serve
To get the full flavor of your meal, be sure to savor those wings first! They’ll melt in your mouth – a true reward for all that hard work.
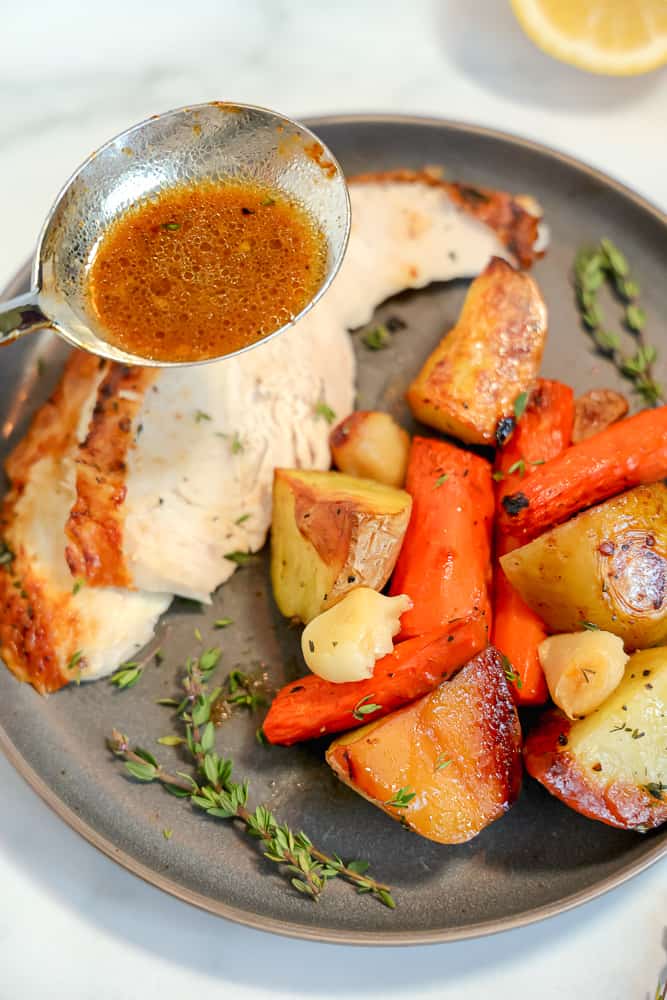
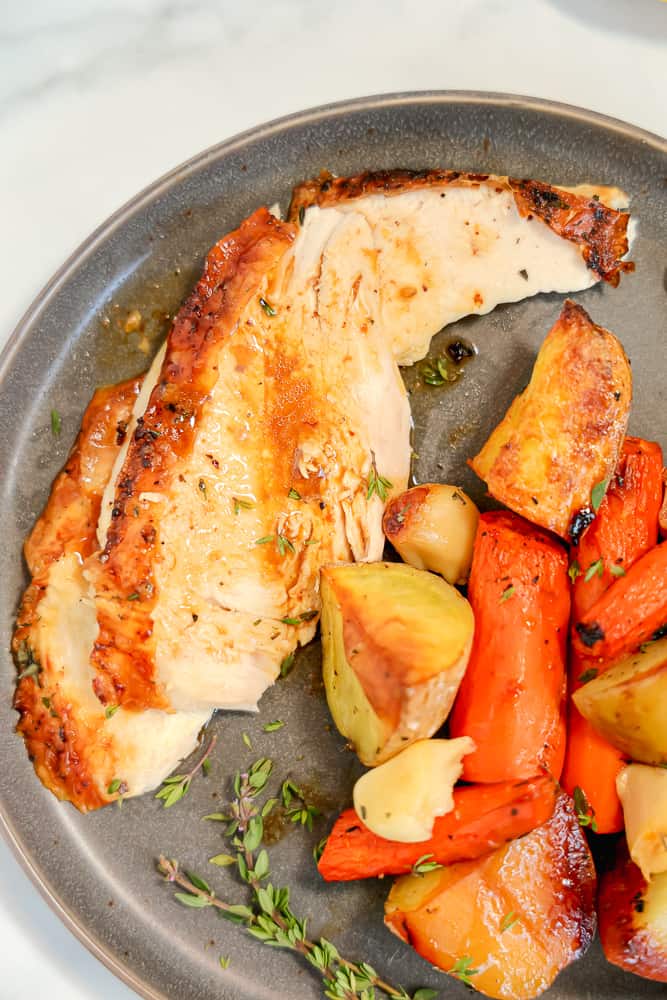
Then, slice through the breast with precision using a sharp knife and arrange it on top of roasted potatoes and carrots.
Finally, don’t forget to finish off the plate with a generous drizzle of pan sauce; it’s truly what brings this dish alive!
How to store
To store, carefully carve the chicken and keep it in an airtight container. Not only is this recipe perfect for meal prepping throughout the week, but you can also use it to create a variety of delicious dishes such as soups or even salads!
Looking for more chicken recipes?
- Chicken Milanese
- Garlic Roasted Chicken
- Baked Chicken Parmesan
- Olive Pepper Chicken Skillet
- Chicken Enchiladas
Made this recipe and loved it? Leave a star rating below!
Did you make this? If you snap a photo, please be sure tag me on Instagram at @girlwiththeironcast or hashtag #girlwiththeironcast so I can see your creations!
Roasted Whole Chicken
Ingredients
- 4-5 pound whole chicken
- 2 pounds yukon gold potatoes (washed and quartered)
- 1 1/2 pounds carrots (peeled and cut into 3 inch pieces)
- 3 heads garlic (tops cut off + 3 cloves garlic, peeled)
- 1 lemon (peeled and pith removed)
- 1 tablespoon fresh lemon juice
- 6 sprigs fresh thyme
- 1 tablespoon chopped fresh thyme leaves
- 2 tablespoons olive oil (divided)
- Kosher salt
- Freshly ground black pepper
- Cooking twine to truss chicken
Email this Recipe!
Email this recipe to yourself to save for later.
By submitting this form, you agree to receive emails from Girl with the Iron Cast.
Before You Begin! If you make this, please leave a review and rating letting us know how you liked this recipe! This helps our business thrive & continue providing free recipes.
Instructions
- Preheat oven to 450 degrees F.
- In a large bowl, place quartered gold potatoes and sliced carrots. Drizzle 1 tbsp olive oil, pinch kosher salt, and pinch black pepper, toss to combine. Dump vegetables into a large cast iron skillet or roasting pan. Nestle the garlic bulbs on the outskirt of the pan. Set aside.
- When handling chicken, contamination safety is the biggest priority. I recommend prepping the chicken in the sink, since it is an easily washable surface and will limit contamination. I place whole chicken in a colander within the larger bowl I used to toss the vegetables to catch all the juices. Remove the bag of innards from the cavity and the pouch located by the neck. I use a gallon ziplock to place all of these items and any chicken discard to freeze and discard on trash day.
- Using paper towels thoroughly dry the chicken inside the cavity and out, getting in between the wings and legs. Discard paper towels into your bag with other chicken items. Once the chicken is fully dried inside and out carefully move to a plate.
- Sprinkle a bit of kosher salt and freshly ground black pepper inside the cavity ( 1/4 tsp). Place 2 peeled garlic cloves in, 3 thyme sprigs, followed by the peeled lemon, the final garlic clove, and remaining thyme.
- Truss the chicken, see notes for step by step of best way to truss a chicken for juicy meat and crispy skin.
- Once chicken is trussed, carefully place it on top of the bed of vegetables. You may have to move a few vegetables to ensure it sits evenly on top. Thoroughly wash hands.
- Brush a thin layer of lemon juice on the chicken followed by kosher salt and ground black pepper all over the breast and thighs (I use about 1/2 tbsp of kosher salt). Place in the oven.
- Roast the chicken for 20 minutes in the oven, carefully remove from the oven and dab a thin layer of olive oil on the skin. I do not baste the chicken after this point, because it will cause the skin to steam, soften, and get chewy. Place back into the oven, dropping the temperature to 425F.
- Depending on the weight of your chicken, the roasting time should be about 1 1/2 hour total for a 5lb chicken. For a smaller bird it will take less, so begin checking temperature around 45 minutes-1 hour. This time may also be affected if you use a different trussing technique. I rotate the pan halfway through to ensure even cooking. If you see the garlic bulbs beginning to burn, you can use tongs to flip them over.
- The chicken is done when multiple points register at 165F. I test the top front of the breast, back of the breast where it meets the thigh, and the thigh. I test multiple locations to ensure the chicken is fully cooked through.
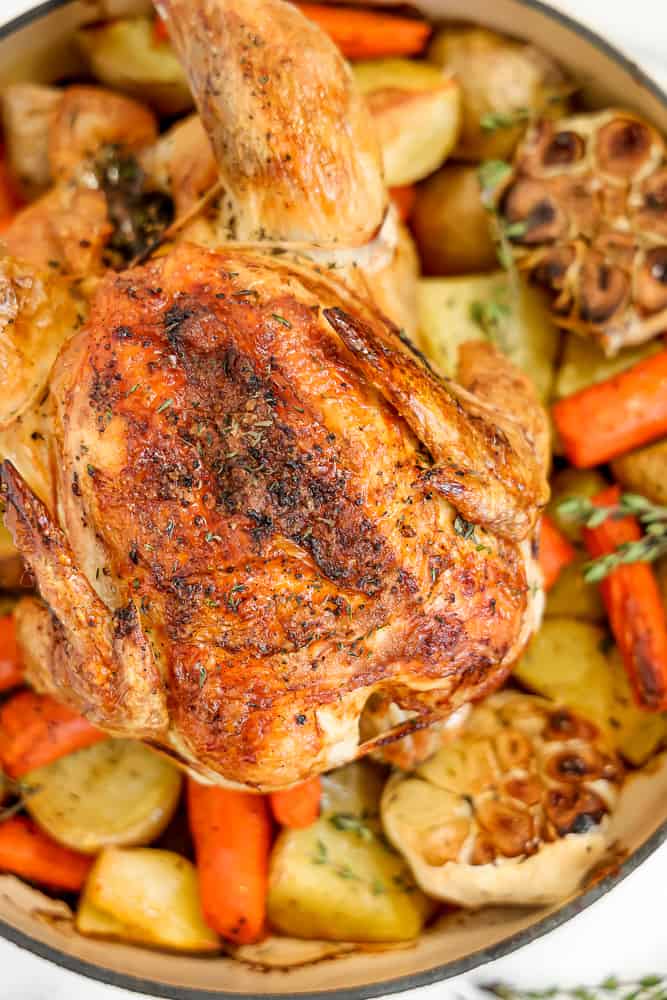
- Once at temperature, remove from the oven and sprinkle chopped thyme over the top. Allow to rest for 10 minutes before cutting. The cavity will have delicious juices inside, so carefully tilt the chicken to empty over the vegetables before moving to a cutting board to slice.
- I recommend immediately eating the wings, they are so crispy and your reward for your hard work! To serve, cut the breast in slices with a sharp knife. Serve with the roasted potatoes, carrots, and squeeze out the garlic cloves. Don’t forget the pan sauce, it’s the best part! Drizzle over the entire plate.
Notes
Trussing Chicken
There’s the traditional way to truss a chicken and then there’s Grant Crilly’s way to truss a chicken. I agree with Grant, that the traditional way of trussing a chicken leaves you with a dry breast, soggy skin, and uneven cooking. I now always use this technique. View video in post for additional help trussing whole chicken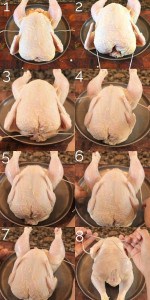
- First place the twine under the middle of the chicken
- Next, pull the twine through the armpits of the wings
- Cross the twine over the top of breast and pull it tight, so the skin of the breast meat will stay down and secured while it roasts
- Cross over the elbows of the wings to secure them down, then cross under the crown and pull tight
- Next, go behind and under the legs
- Bring the twine over the top of the knee’s and cross the twine under the crown again. When you pull the leg’s of the bird should straighten out.
- Carefully flip the bird over and wrap three times before tying tight.
- Secure by tying an additional knot, so it does not unravel while roasting, and cut off excess string.